go to home page
go to the page above this
Height gauges
The height of a surface above a standard flat surface is most accurately measured using a height gauge. Usually the flat surface is a surface plate but the surface of the milling table can also be used.
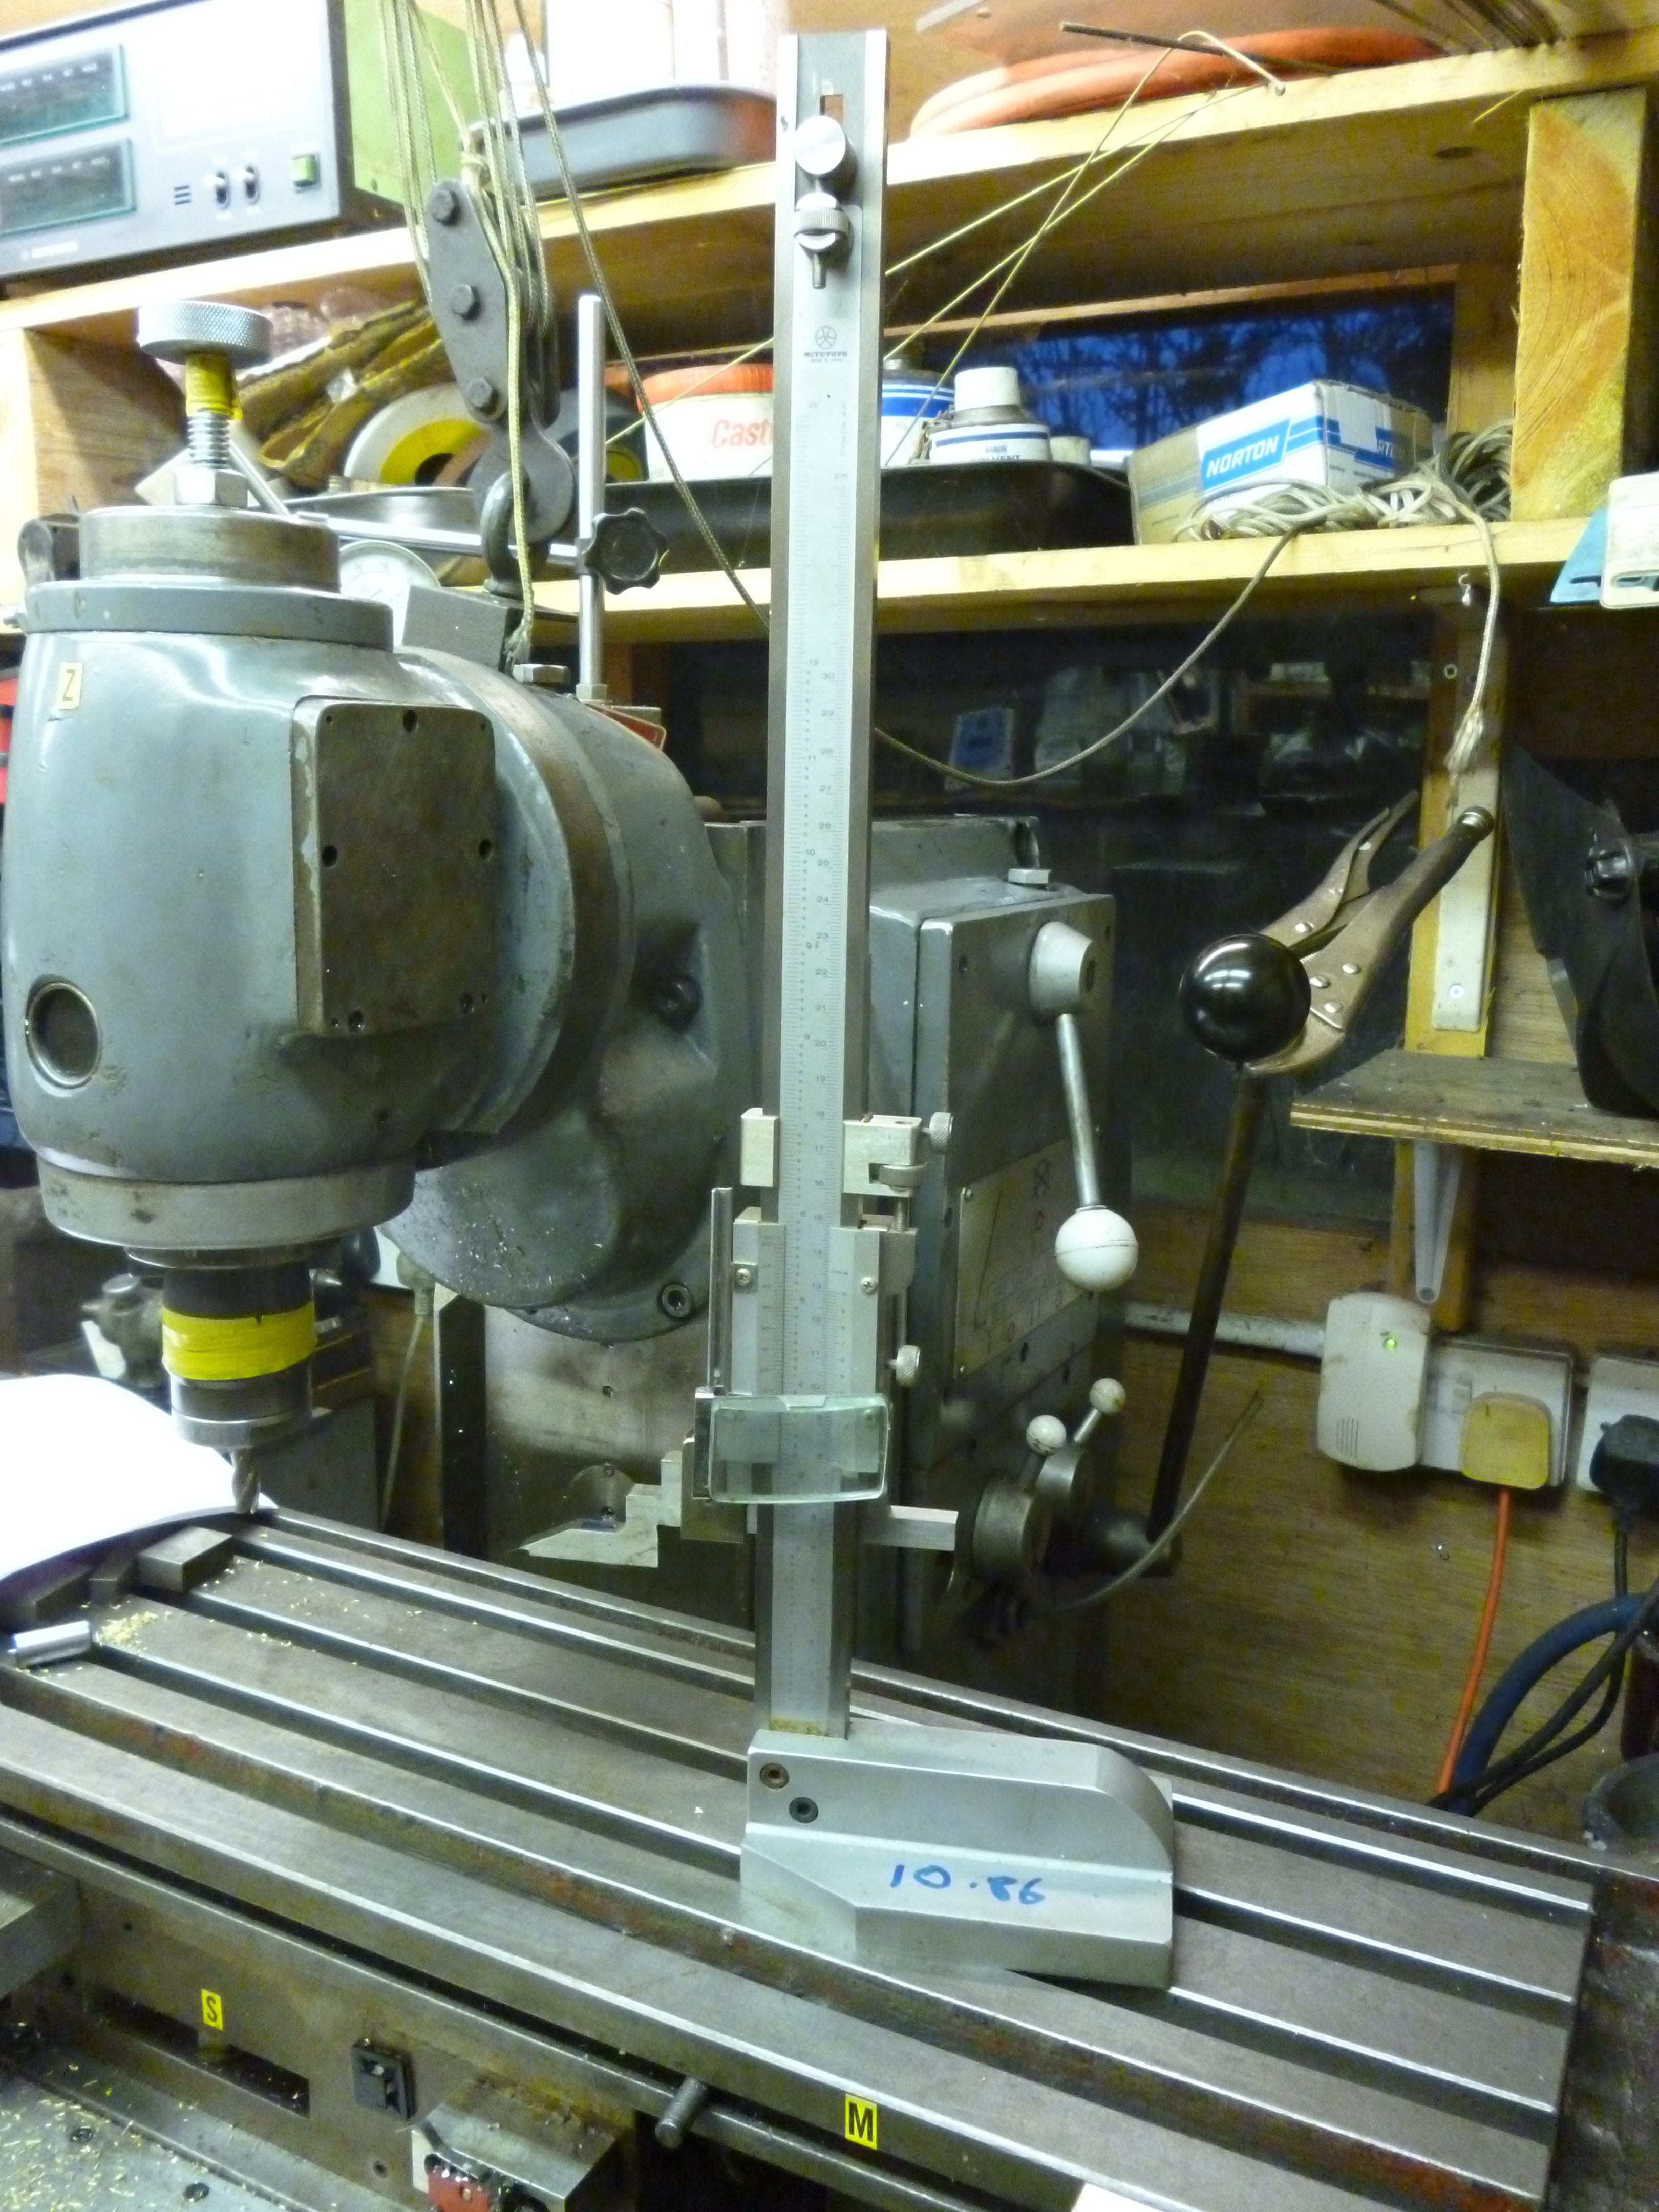
Fig. Height gauge 529
The height gauge is accurate for measuring heights because its base ensures that the height measured is perpendicular to the milling table.
A long, thin surface can be checked for being horizontal by measuring its height at either end. A square surface can be checked for being horizontal by testing its height along its length in both the x and y directions.
Though height gauges are usually used for measuring the top of an object because they are really measuring a length they can just as well be used to measure the height up to the bottom of an object.
It is not possible to do this so that the scale gives a direct reading. Invariably it is necessary to read the scale and add an offset to this reading.
An ordinary height gauge is to give the height where this height is the top of a surface. however there are times when it is useful to measure the gap between, for example, the top of the milling table and the bottom of a cutter. It is possible to do this by measuring using the top surface of the probe. Of course, since the gauge is set up so the bottom is zero it is necessary to find what the height of this top surface is when the bottom is touching zero.

Fig. Height gauge calibrated to measure the height to the bottom of a surface 503
In the above photo is a height gauge that has been calibrated (using another height gauge). The height of the surface marked by a blue spot on the left is known to be 10.86mm above zero. Knowing this it is possible to measure the height of the underneath of a surface.
Z axis tool setting gauge
Setting the height of a cutter is a bit more problematic than one might think. One problem it that under no circumstances must the cutting tool touch the milling table. Another is that “height” will all depend on the length of the cutter. And yet, clearly a component might have surfaces that are different heights.
One solution is the Z-axis tool setting gauge. This is simply an inverted DTI that measures the vertical movement of a small, flat surface.
Fig. Z axis setting tool 689
The gauge is set by using a height gauge that has already been set to some convenient height. The gauge is placed underneath it and set to zero. The gauge is placed under the cutter and the cutter is lowered or the knee is raised till the DTI reaches zero. At this point we know the height of the bottom of this cutter from the milling table.
The dial on the z-axis wheel is set to zero or the z-axis DRO is set to zero.
This means the DRO is set to the height of the gauge. If, for example, this is actually 50mm, though it reads zero, then it can be set to zero by moving it till it reads 50mm and then reset it.
Now at a reading of 0.00mm it will be touching the table and is bound t o mark it. If it is necessary to do this then a plate should be fitted to the table and the surface of this should be the reference.
